How Can We Help?
Activating and Configuring Theme Options
Typography
In this section you can customize the typography for body, post title, widget title, and widget content.
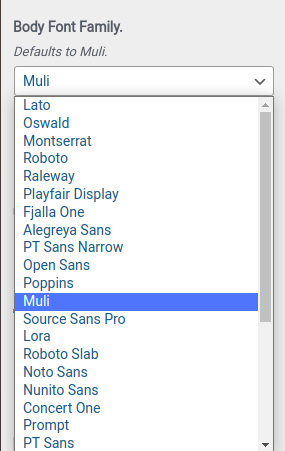
Body Font Family: Set the desired font family. Choose it from the dropdown menu.
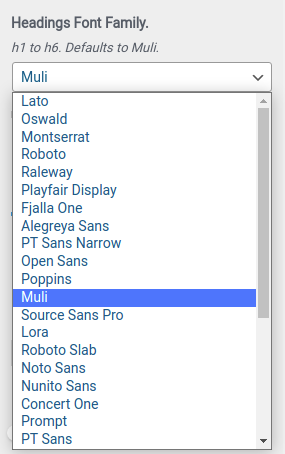
Headings Font Family: Set the desired font family for the headings (H1 to H6). Choose it from the dropdown menu.
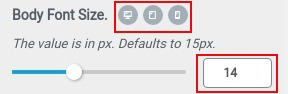
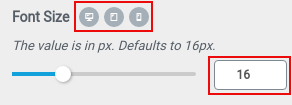
Body Font Size:
- Set the desired font size.
- For mobile and tablet click monitor icons right of the subsection title. You will get icons of mobile and tablet.
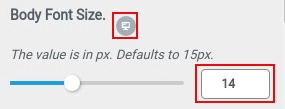
- Click on the respective icon to set the appropriate font size
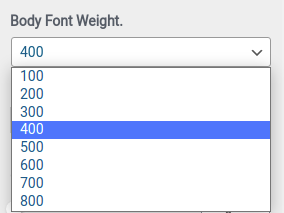
Body Font Weight: Choose the appropriate font weight from the dropdown menu. You can choose from 100 to 800.
Body Font Style: Set the desired Font Style (Normal, Inherit, Italic).
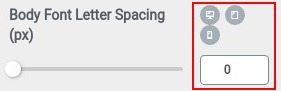
Body Font Letter Spacing (px):
- Set the desired Letter Spacing (from 0 – 10).
- For mobile and tablet click monitor icons right of the subsection title. You will get icons of mobile and tablet.
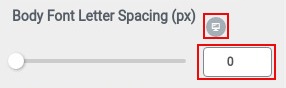
- Click on the respective icon to set the appropriate letter spacing.
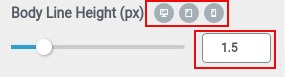
Body Line Height (px):
- Set the desired line-height (from 1 – 4).
- For mobile and tablet click monitor icons right of the subsection title. You will get icons of mobile and tablet.
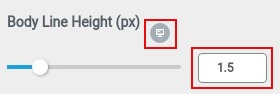
- Click on the respective icon to set the appropriate line-height.
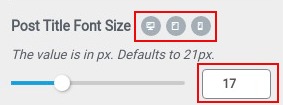
Post Title Font Size:
- Set the desired font size.
- For mobile and tablet click monitor icons right of the subsection title. You will get icons of mobile and tablet.
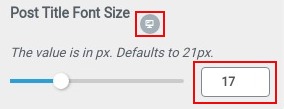
- Click on the respective icon to set the appropriate font size.
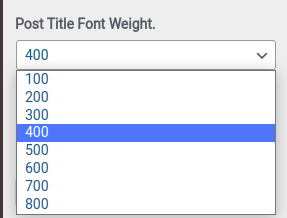
Post Title Font weight: Choose the appropriate font weight from the dropdown menu. You can choose from 100 to 800.
Post Title Text Transform: Set the desired transformation (none, capitalize, uppercase, lowercase, initial). You can choose from the dropdown menu.

Post TItle Font Style: Set the desired Font Style (Normal, Inherit, Italic).
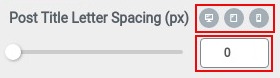
Post Title Letter Spacing (px):
- Set the desired Letter Spacing (from 0 – 10).
- For mobile and tablet click monitor icons right of the subsection title. You will get icons of mobile and tablet.
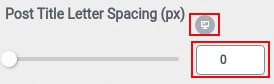
- Click on the respective icon to set the appropriate letter spacing.
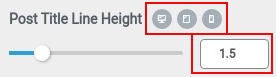
Post Title Line Height:
- Set the desired line-height (from 1 – 4).
- For mobile and tablet click monitor icons right of the subsection title. You will get icons of mobile and tablet.
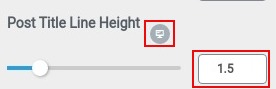
- Click on the respective icon to set the appropriate line height.
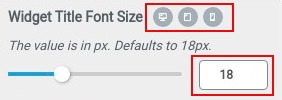
Widget Title Font Size:
- Set the desired font size.
- For mobile and tablet click monitor icons right of the subsection title. You will get icons of mobile and tablet.
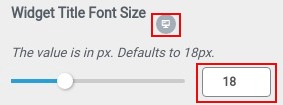
- Click on the respective icon to set the appropriate font size.
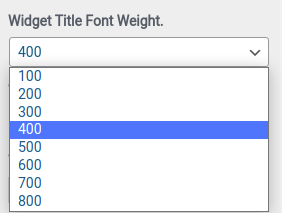
Widget Title Font Weight: Choose the appropriate font-weight from the dropdown menu. You can choose from 100 to 800.
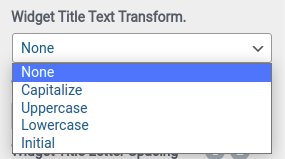
Widget Title Text Transform: Set the desired transformation (none, capitalize, uppercase, lowercase, initial). You can choose from the dropdown menu.
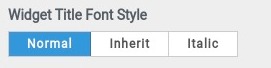
Widget Title Font Style: Set the desired Font Style (Normal, Inherit, Italic).
Widget TItle Letter Spacing (px):
- Set the desired Letter Spacing (from 0 – 10).
- For mobile and tablet click monitor icons right of the subsection title. You will get icons of mobile and tablet.
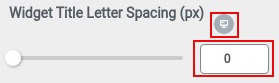
- Click on the respective icon to set the appropriate letter spacing.

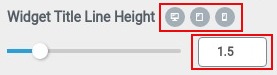
Widget Title Line Height:
- Set the desired line-height (from 1 – 4).
- For mobile and tablet click monitor icons right of the subsection title. You will get icons of mobile and tablet.
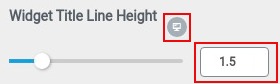
- Click on the respective icon to set the appropriate line height.
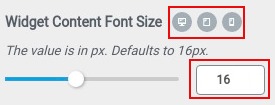
Widget Content Font Size:
- Set the desired font size.
- For mobile and tablet click monitor icons right of the subsection title. You will get icons of mobile and tablet.
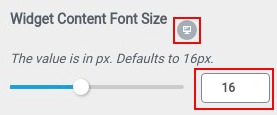
- Click on the respective icon to set the appropriate font size.
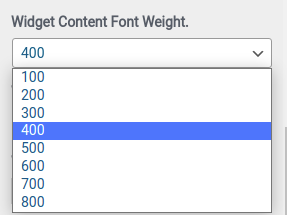
Widget Content Font Weight: Choose the appropriate font weight from the dropdown menu. You can choose from 100 to 800.
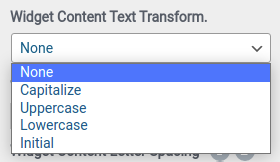
Widget Content Text Transform: Set the desired transformation (none, capitalize, uppercase, lowercase, initial). You can choose from the dropdown menu.
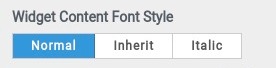
Widget Content Font Style: Set the desired Font Style (Normal, Inherit, Italic).
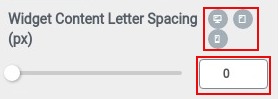
Widget Content Letter Spacing (px):
- Set the desired Letter Spacing (from 0 – 10).
- For mobile and tablet click monitor icons right of the subsection title. You will get icons of mobile and tablet.
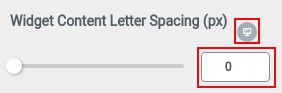
- Click on the respective icon to set the appropriate letter spacing.
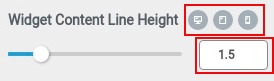
Widget Content Line Height:
- Set the desired line-height (from 1 – 4).
- For mobile and tablet click monitor icons right of the subsection title. You will get icons of mobile and tablet.
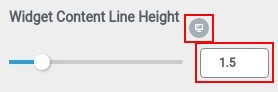
- Click on the respective icon to set the appropriate line height.
Inner Banner Options:
Inner Banner is displayed in every single page and post just after the heading section.
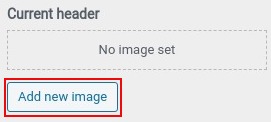
Adding Inner Banner Image
- Click the Add new image button.
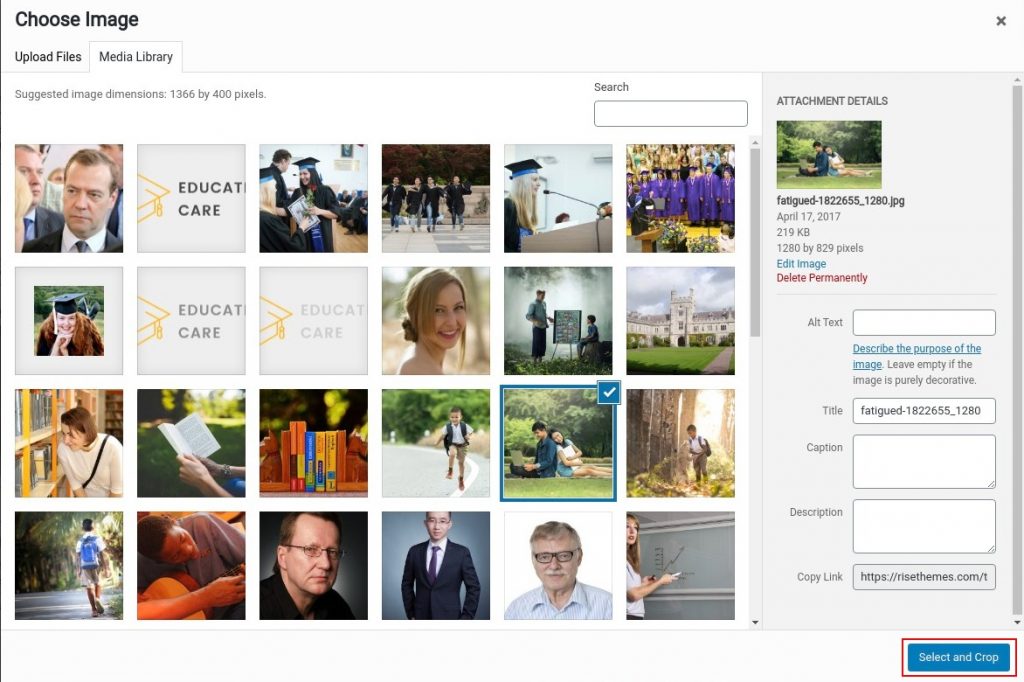
- Choose an image from the media gallery or upload from the computer. (best size is 1366*400)
- Click the select and crop button.
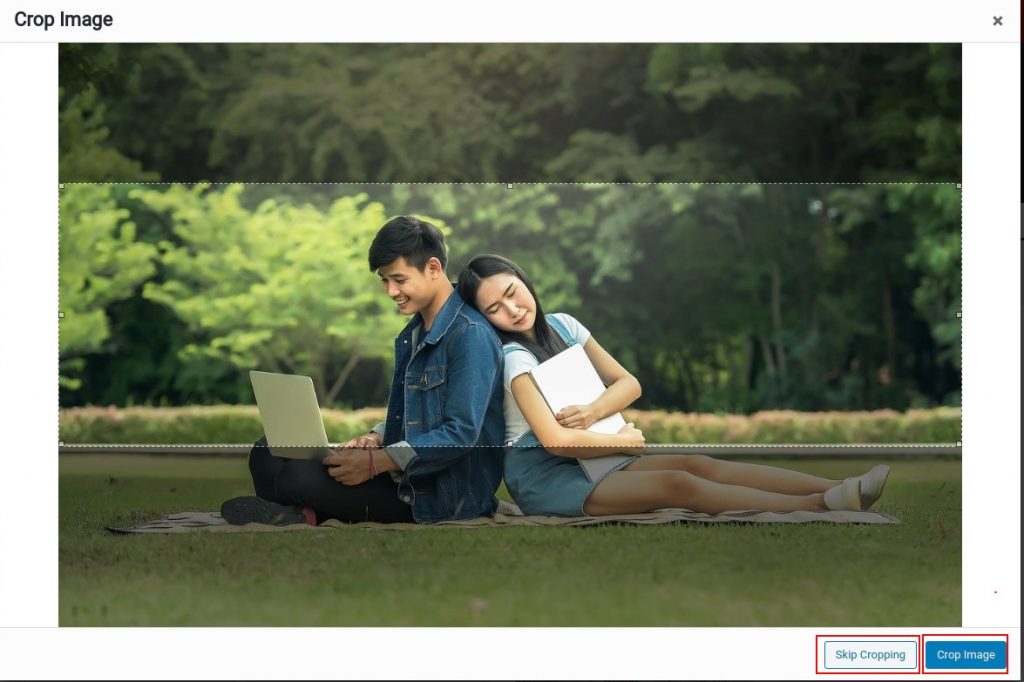
- You will get an option to crop the image. You can skip it or crop it to the recommended size. Click the desired outcome.
Customizing Inner Banner
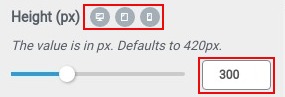
Height (px):
- Set the height of the banner.
- For mobile and tablet, click monitor icons right of the subsection title. You will get icons of mobile and tablet.
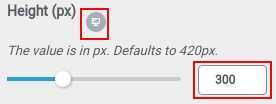
- Click on the respective icon to set the appropriate height.
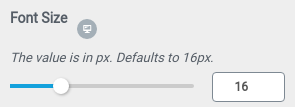
Font Size:
- Set the desired font size for the post title.
- For mobile and tablet, click monitor icons right of the subsection title. You will get icons of mobile and tablet.
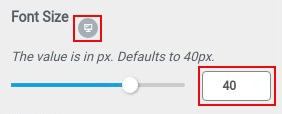
- Click on the respective icon to set the appropriate font size.

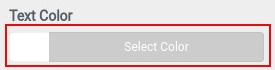
Text Color:
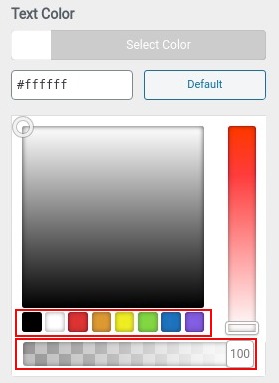
- To set the text color, click on the Select Color button.
- It will display the color palette.
- Choose the desired color. You can also set the transparency level.
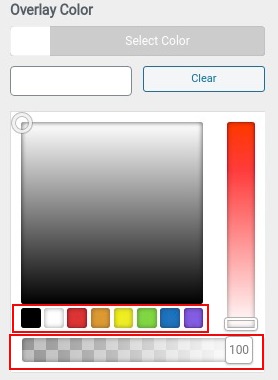
Overlay Color: Set this option to set overlay for the banner image.
- Click on the Select Color button. It will display the color palette.
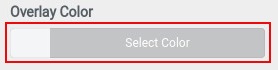
- Choose the color and then set the desired transparency.
Alignment: Set the alignment of the title (left, center, right) to display in the banner.
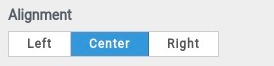
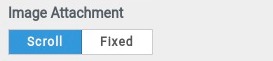
Image Attachment: Set the desired attachment style (scroll, fixed) for the image.
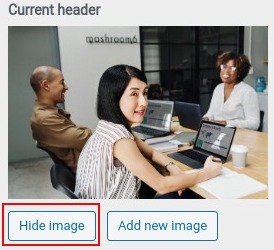
If you don’t want to show the banner image then you can click Hide image button to remove the image from the Current header section.
Color Options
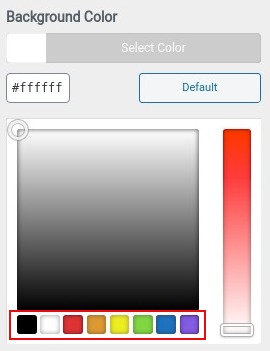
Background Color:
- Click on the Select Color button.
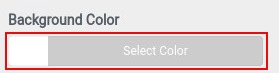
- It will display the color palette. Click to choose the color.
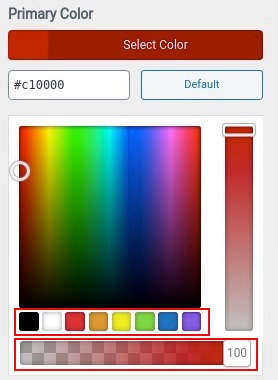
Primary Color:
- Click on the Select Color button.
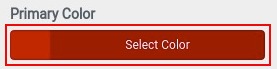
- It will display the color palette.
- Choose the color and then set the desired transparency.
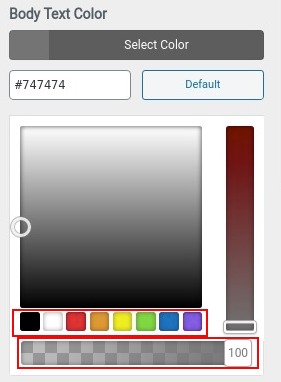
Body Text Color:
- Click on the Select Color button.
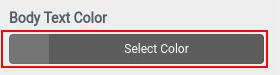
- It will display the color palette.
- Choose the color and then set the desired transparency.
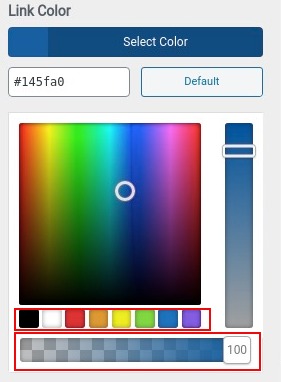
Link Color:
- Click on the Select Color button.
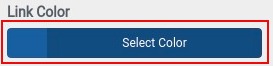
- It will display the color palette.
- Choose the color and then set the desired transparency.
Link Hover Color:
- Click on the Select Color button.
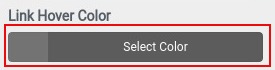
- It will display the color palette.
- Choose the color and then set the desired transparency.
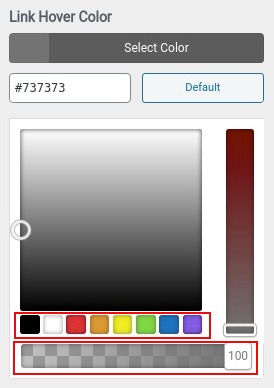
Side Widget Title Color:
- Click on the Select Color button.

- It will display the color palette.
- Choose the color and then set the desired transparency.
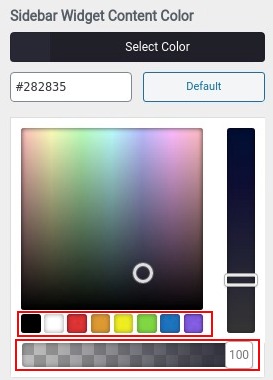
Side Widget Content Color:
- Click on the Select Color button.
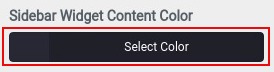
- It will display the color palette.
- Choose the color and then set the desired transparency.
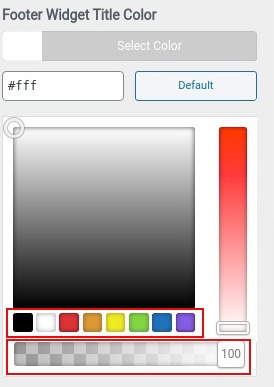
Footer Widget Title Color:
- Click on the Select Color button.
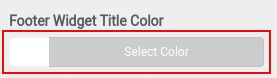
- It will display the color palette.
- Choose the color and then set the desired transparency.
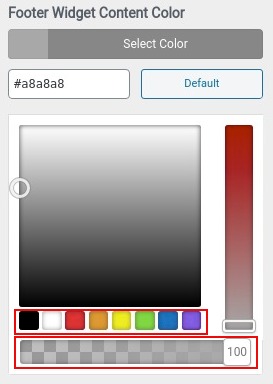
Footer Widget Content Color:
- Click on the Select Color button.
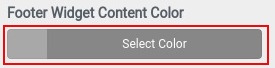
- It will display the color palette.
- Choose the color and then set the desired transparency.
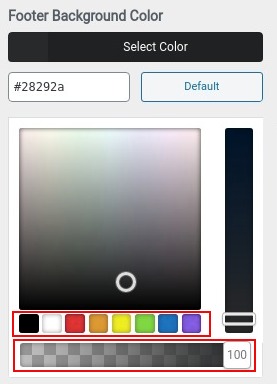
Footer Background Color:
- Click on the Select Color button.
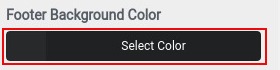
- It will display the color palette.
- Choose the color and then set the desired transparency.
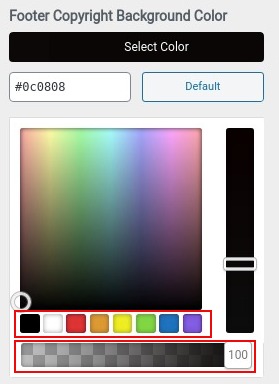
Footer Copyright Background Color:
- Click on the Select Color button.
- It will display the color palette.
- Choose the color and then set the desired transparency.
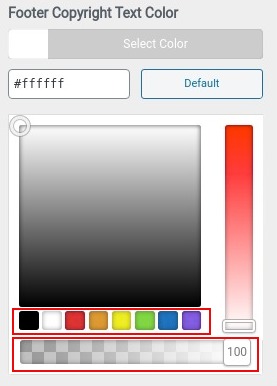
Footer Copyright Text Color:
- Click on the Select Color button.
- It will display the color palette.
- Choose the color and then set the desired transparency.
Breadcrumb Options
Show Breadcrumb: Enable this option to show Breadcrum in the webpage.

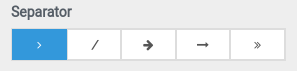
Separator: The theme provides 5 different separators. Click the desired separator to choose and display in the breadcrumb.
Font Size:
- Insert the desired font size.
- For the mobile and tablet version, click monitor icons right of the subsection title. You will get icons of mobile and tablet.
- Click on the respective icon to set the appropriate font size
Post Options
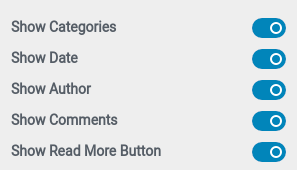
Customize how you would like to display the posts in the archive page.
You can toggle enable or disable for the following options
- Categories
- Date
- Author
- Comments
- Read More Button
Excerpt Length: Mention the length of the Excerpt for the posts in the archive page
Post Per Row: Choose the desired post per row. You can choose

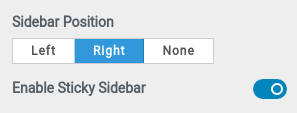
Sidebar Options
Sidebar Position: Display the sidebar at either left or right. Choose none to hide the sidebar.
Enable Sticky Sidebar: Enable this option to allow a fixed sidebar on a webpage that remains visible.
Advanced Options
Show Preloader: Enable this option to display a preloader until the content of the web page gets displayed.

Enable Dark Mode: This option enables a black background with white-coloured text.

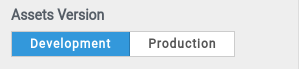
Assets Version: Choose between development or production option. Development option shows unminified version of JS and CSS while Production option displays the minified version.
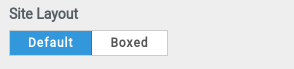
Site Layout: Choose between full width (default) layout or boxed for the website. The theme
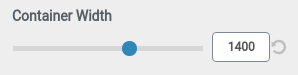
Container Width: set the container width. The default value is 1400.
Footer Options
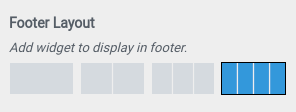
Footer Layout: Choose the layout option from one column to four columns for the footer. You can add widgets to display in these columns.
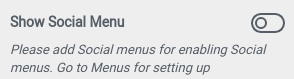
Show Social Menu: Enable the option to show the social menu in the footer. For this to work out, you need to configure the social menu in the Menus.
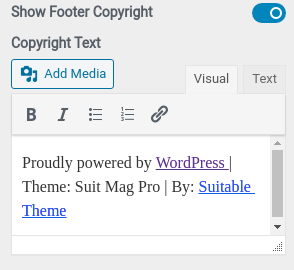
Show Footer Copyright: Enable the option to show the footer Copyright test. Once enabled you can then insert Copyright Text.
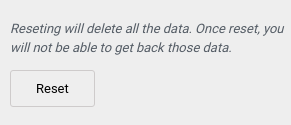
Reset Options:
If you think all the customization is not working as it seems to be then you can reset the options with just a click.