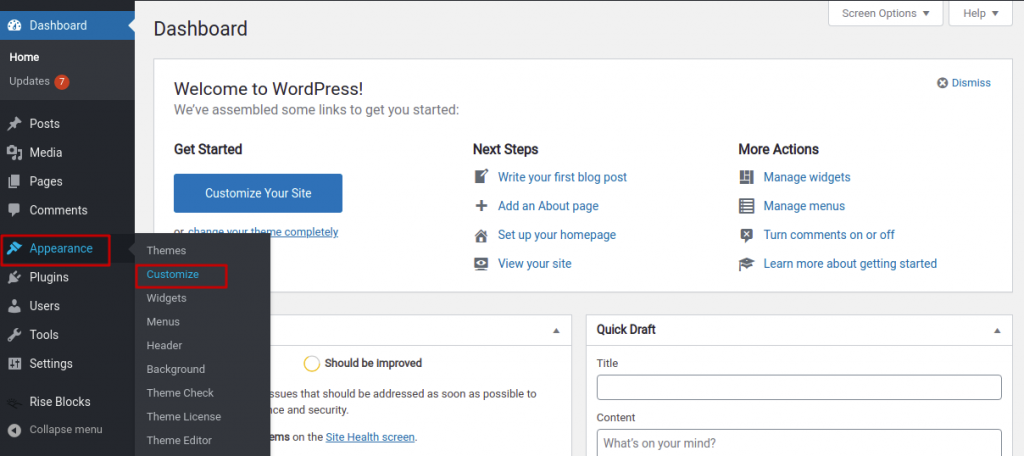
Hover on the Appearance tab in the left sidebar of WordPress Administrative Dashboard. Then click on Customize to get Theme Options.
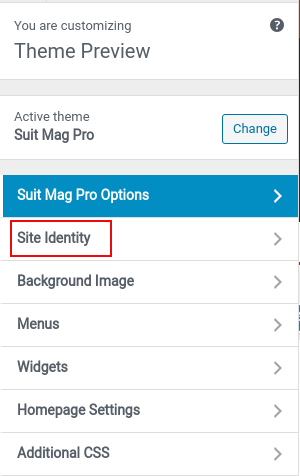
Click on Site Identity. You will get lists of options to personalize the site identity.
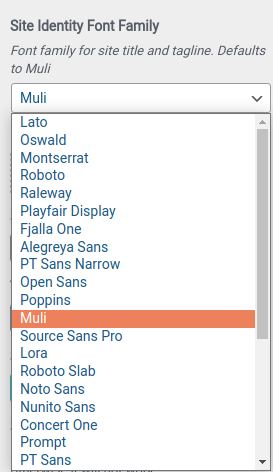
Site Identity Font Family – Choose the font for Site Identity from the drop-down menu
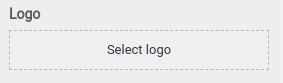
Logo – Upload your logo
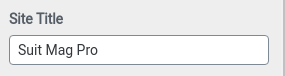
Site Title – Enter your website’s title
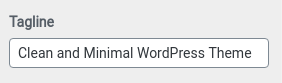
Tagline – Enter the tagline of your website
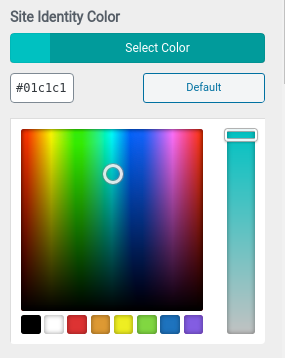
Site Identity Color – Choose your desired font colour
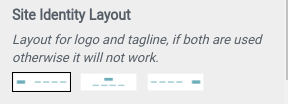
Site Identity Layout – You can use the layout only if the logo and tagline are used. Otherwise, it won’t.
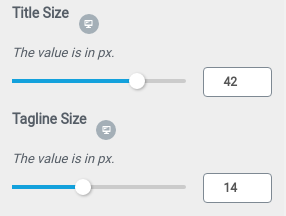
Font size for Title and Tagline – Choose your desired font size.
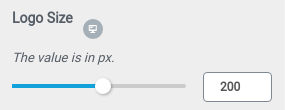
Logo size – Choose the appropriate logo size that will help to make your header good.
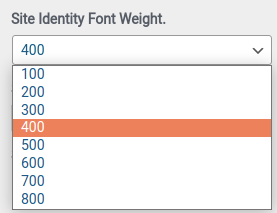
Site Identity Font Weight – Choose the appropriate font-weight.
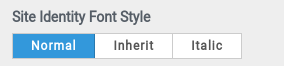
Site Identity Font Style – Choose the appropriate style for your Title and Tagline
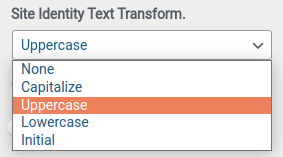
Site Identity Text Transform – Choose the appropriate transformation
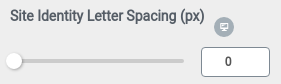
Site Identity Letter Spacing (px) – Choose the appropriate letter spacing
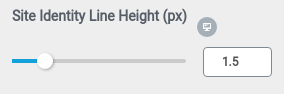
Site Identity Line Height (px) – Choose the desired line-height.
Display Site Title and Tagline – As per your need choose whether to display the site title and tagline or not.
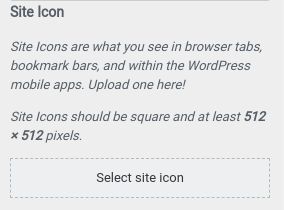
Site Icon – Upload the square sized of at least 512*512 pixels site icon. It will display in browser tabs, bookmark bars and within the WordPress mobile apps.